Classic car restoration is exciting, but it is not the same as a quick repair job. It requires patience, planning, careful inspection, and realistic expectations. This guide explains what vehicle owners should understand before starting a restoration project.
Restoration Is Different From Normal Repairs
A normal repair usually has a clear problem. A dent, scratch, bumper damage, or accident repair.
A classic restoration is different.
The vehicle may have old paint, hidden rust, previous repairs, missing parts, worn seals, body filler from past work, or panels that no longer align properly.
That means the process is usually more detailed and less predictable than a standard repair.
Start With a Proper Inspection
Before restoration begins, the vehicle should be inspected carefully.
- Body panels
- Rust areas
- Paint condition
- Panel gaps
- Previous repair work
- Bumper condition
- Trim and mouldings
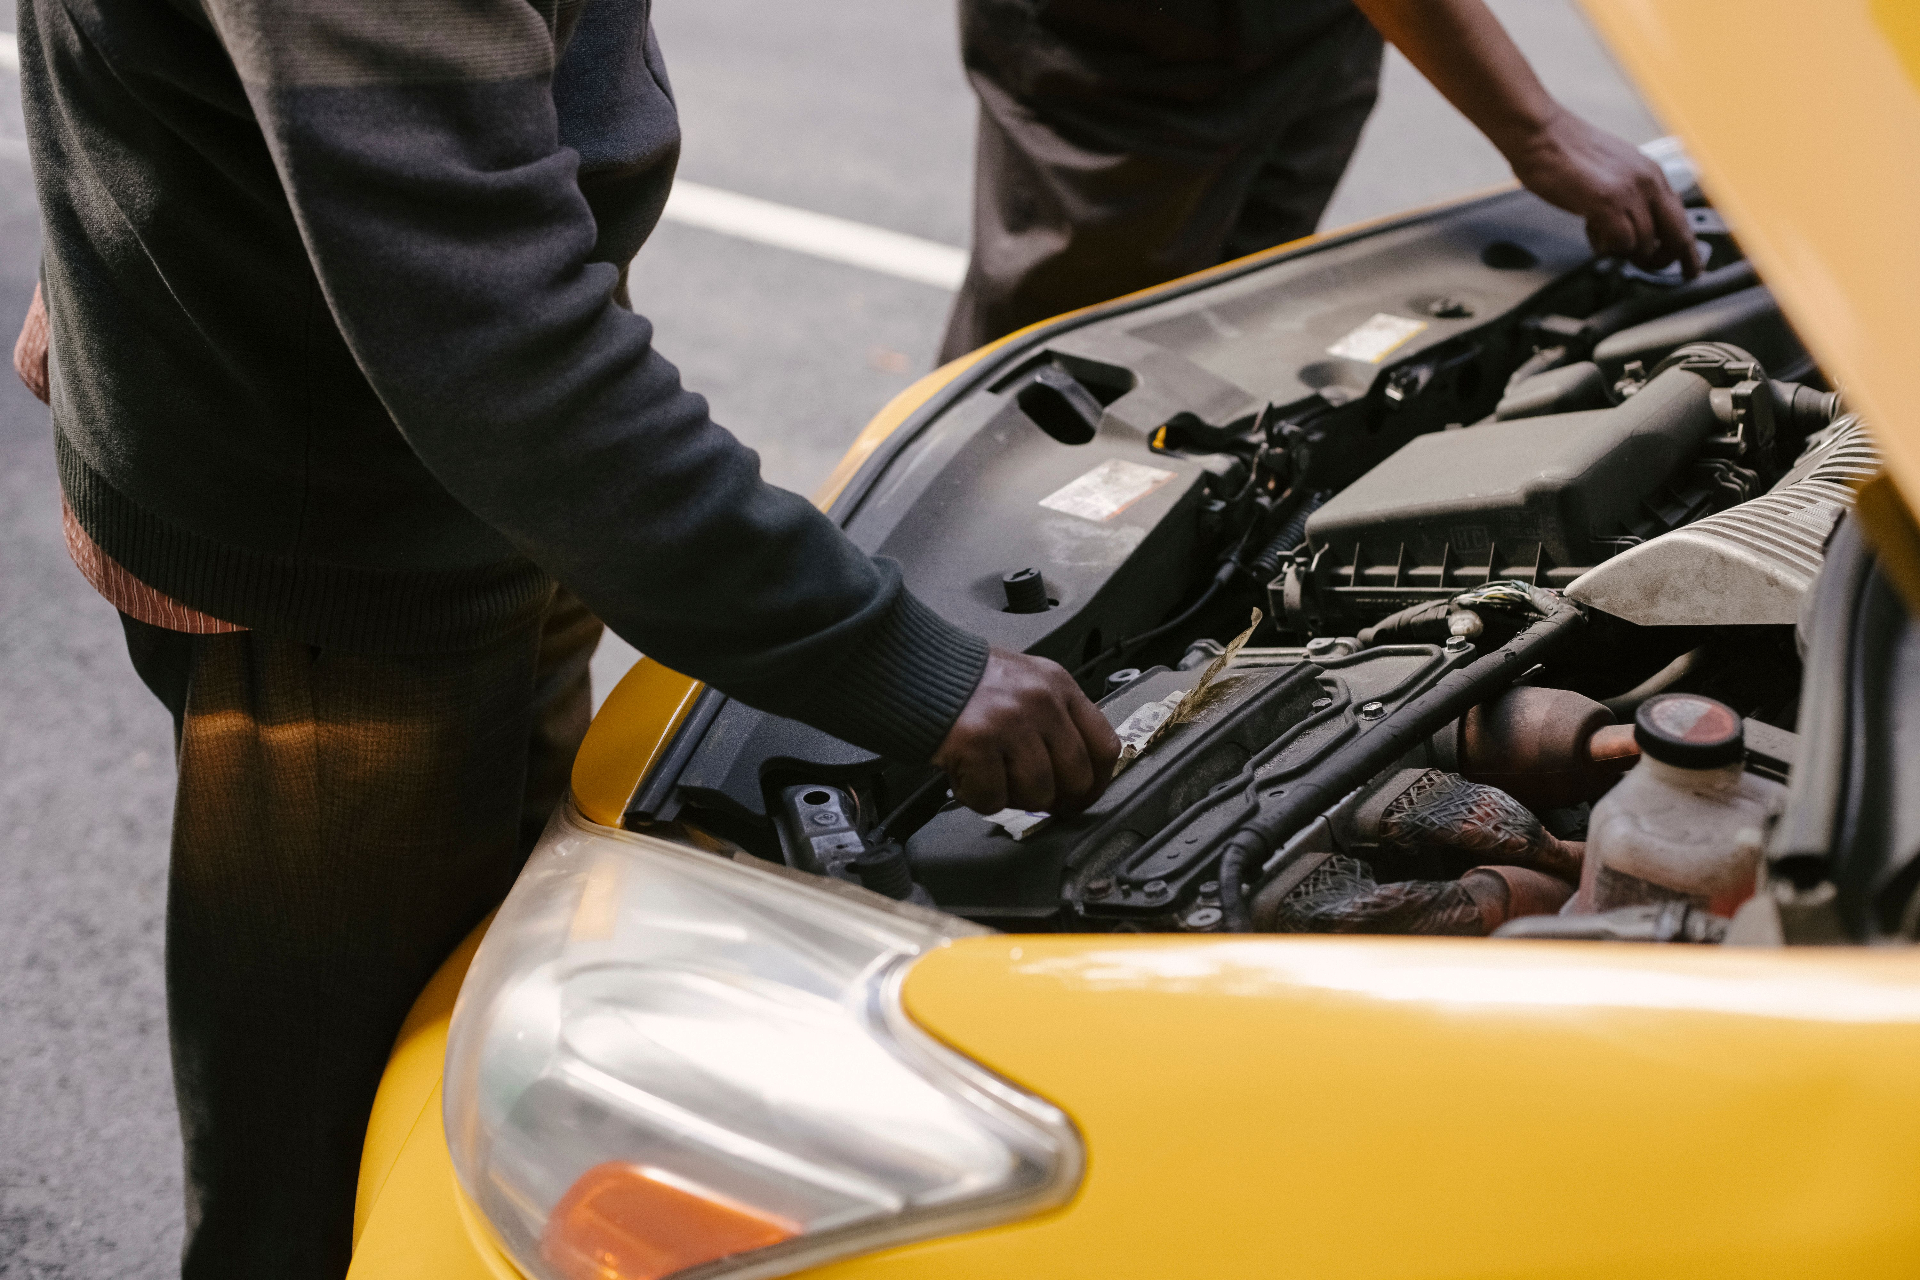
- Mechanical condition
- Interior condition
- Parts availability
A proper inspection helps avoid unrealistic expectations.
Rust Can Change the Whole Project
Rust is one of the biggest factors in restoration work.
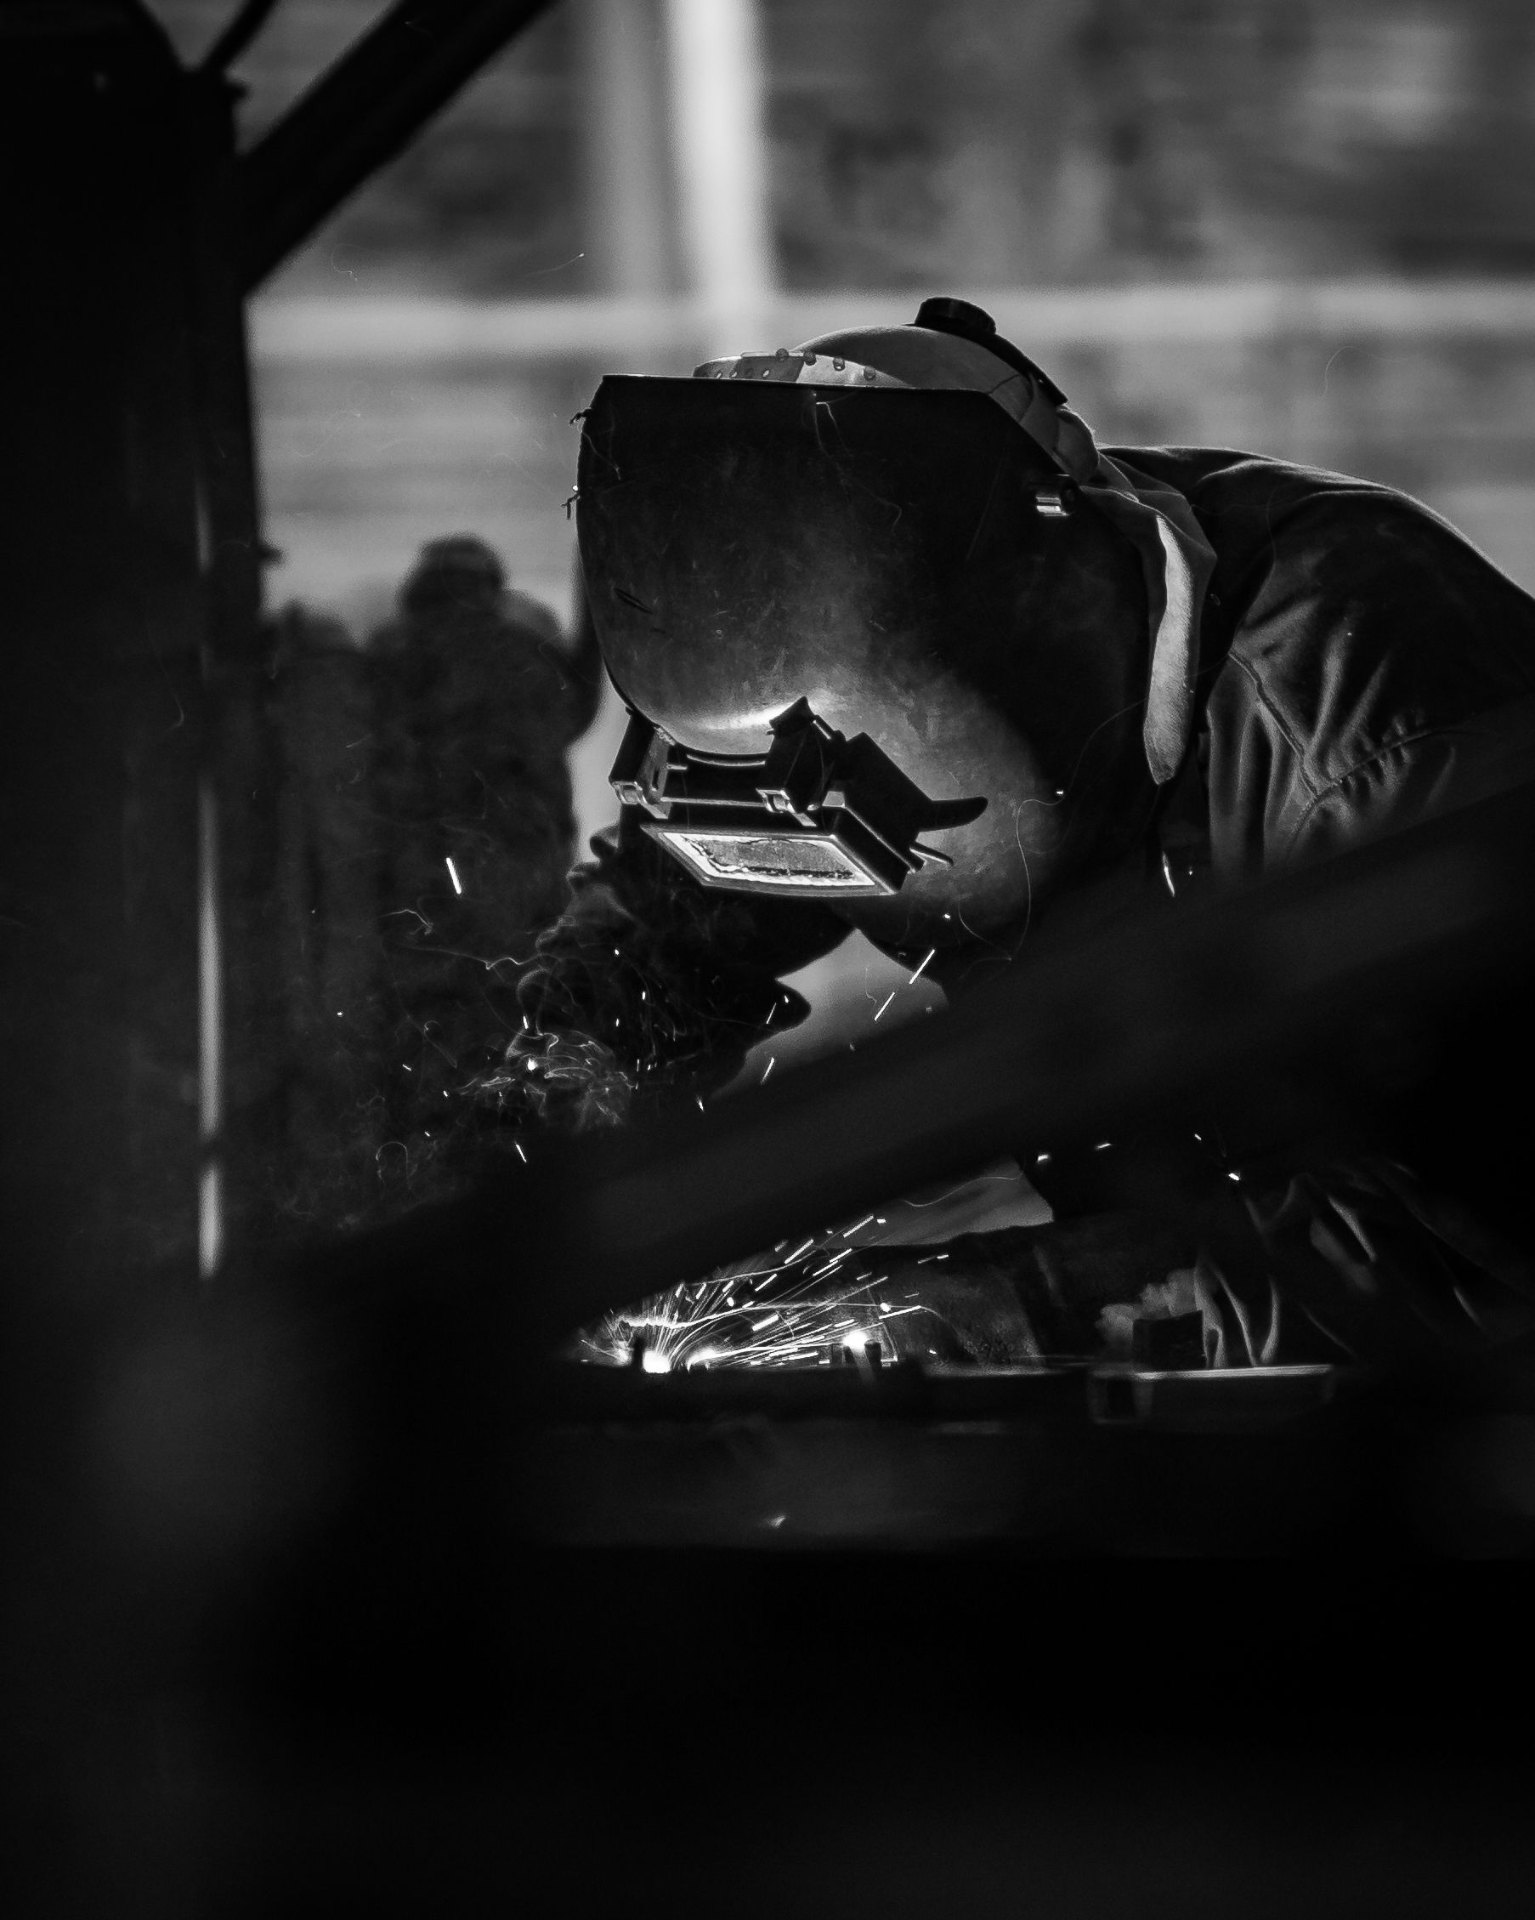
Surface rust may be manageable. Deeper rust can require cutting, welding, replacement sections, or more extensive bodywork.
Common rust areas include:
- Wheel arches
- Door bottoms
- Sills
- Floor sections
- Boot area
- Around windscreens
- Bonnet edges
- Under trim
Rust repair should not be rushed. Painting over rust is not restoration. It is hiding a problem.
Old Paint May Need More Preparation
Classic vehicles often have multiple layers of old paint, primer, filler, or previous repairs.
Before new paint is applied, the surface may need:
- Sanding
- Stripping
- Rust treatment
- Panel correction
- Filler work
- Primer
- Block sanding
- Test fitting
- Paint preparation
The final paint finish depends heavily on the preparation.
Parts Availability Can Affect Timelines
Classic vehicles may need parts that are difficult to find.
- Trim replacement
- Panels
- Bumpers
- Lights
- Rubber seals
- Clips and mouldings
- Mechanical components
The older or rarer the vehicle, the more planning is required.
Expect a Step-by-Step Process
1. Initial inspection
Understanding the current condition and likely scope.
2. Strip-down
Removing selected parts to inspect hidden areas.
3. Bodywork
Repairing dents, rust, panel damage, and alignment issues with panel beating.
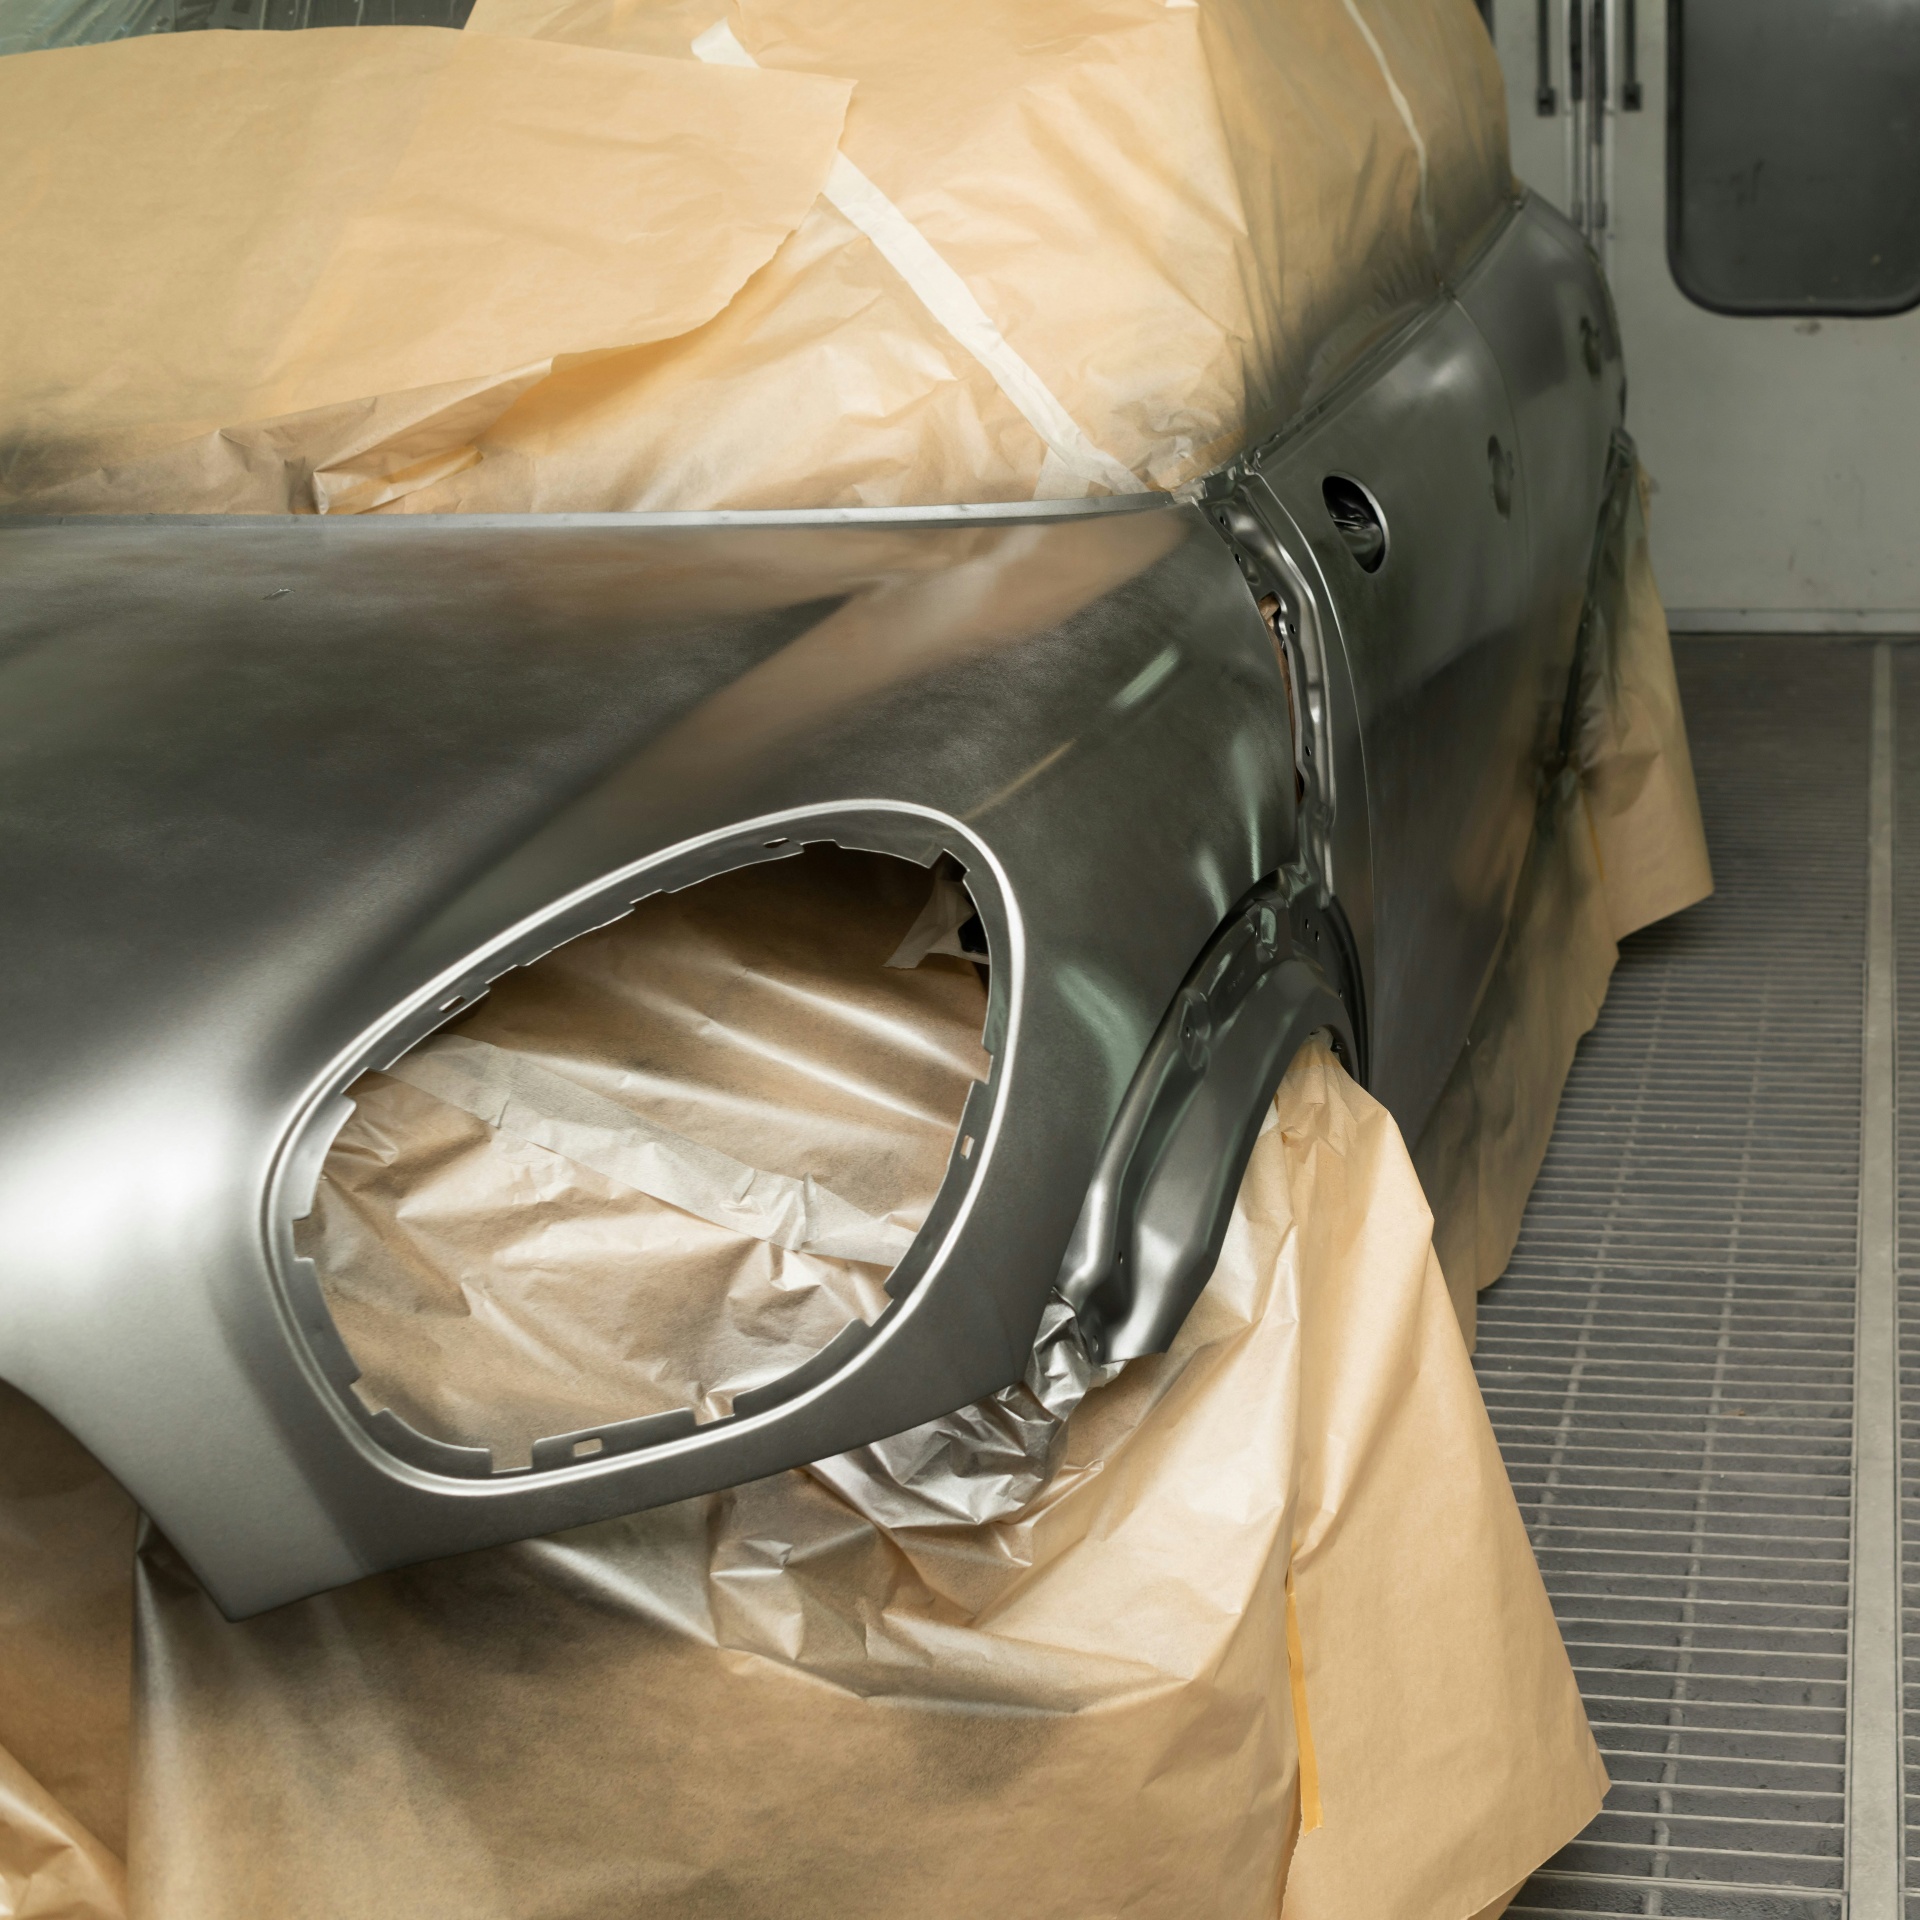
4. Preparation
Sanding, priming, and preparing the surface for paint.
5. Spray painting
Applying the selected colour and finish in our spray booth.
6. Reassembly
Putting trim, parts, lights, and components back carefully.
7. Final quality check
Checking alignment, finish, and presentation.
Timelines Must Be Realistic
A proper classic restoration should not be treated like a quick bumper repair.
- Vehicle condition
- Rust severity
- Parts availability
- Paint requirements
- Bodywork complexity
- Client expectations
- Workshop schedule
A rushed restoration usually shows in the final result.
Budget Should Include Contingency
Classic restoration projects can uncover hidden issues once work begins.
- Rust hidden under paint
- Poor previous repairs
- Damaged mounting points
- Missing parts
- More bodywork than expected
- Mechanical issues
That is why restoration budgets should allow some flexibility.
Clear Communication Matters
Before starting, the owner and workshop should discuss:
- Desired outcome
- Budget range
- Paint colour
- Level of finish
- Timeline expectations
- Parts sourcing
- Approval process
- How updates will be shared
This avoids confusion later.
How Mega Body Auto Can Help
Mega Body Auto offers vehicle restoration and related bodywork, spray painting, and panel repair for classic vehicles.
- Body repair
- Rust repair support
- Panel preparation
- Spray painting
- Paint matching
- Mechanical repair support
- Restoration planning
- Repair assessment
Need Help With Vehicle Repairs?
Whether you need panel beating, spray painting, dent repairs, mechanical repair support, or an estimate after an accident, Mega Body Auto can help you understand the next step.